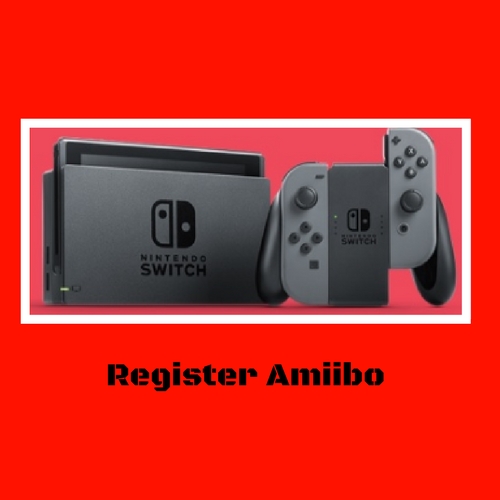
How To Register Amiibo On Nintendo Switch
:max_bytes(150000):strip_icc()/howtoscanamiibowithswitchandprocontroller-5af9cce4119fa80037a15354.jpg)
How To Use Amiibo On Nintendo Switch

How To Scan Amiibo Using The Nintendo Switch Nintendo Switch Wiki Guide Ign

How To Connect Amiibo On The Nintendo Switch Zelda Breath Of The Wild Youtube

How To Register An Amiibo On Nintendo Switch Youtube
How To Register An Amiibo And Give It A Nickname On Nintendo Switch Nintendo Switch Guides

How To Activate Use Amiibo Amibos In Mario Kart Deluxe 8 Nintendo Switch Youtube
Do not move the amiibo while it is being read or written to.
How to register amiibo on nintendo switch. Software updates may be required. Have your amiibo card ready in your hand and choose the invite camper option at the kiosk in resident services. Place your compatible amiibo on the right joy con s joystick to scan the nfc chip. From the home menu select system settings then scroll down the menu on the left hand side and select amiibo select register owner and nickname. Select register owner and nickname.
Select register owner and nickname. Now select register owner and nickname you will now be asked to hold the base of your amiibo to the stick on your right joy con. Scroll to the right on the right joy con joystick to select the amiibo rune. From the main menu go to settings. From the home menu select system settings then scroll down the menu on the left hand side and select amiibo.
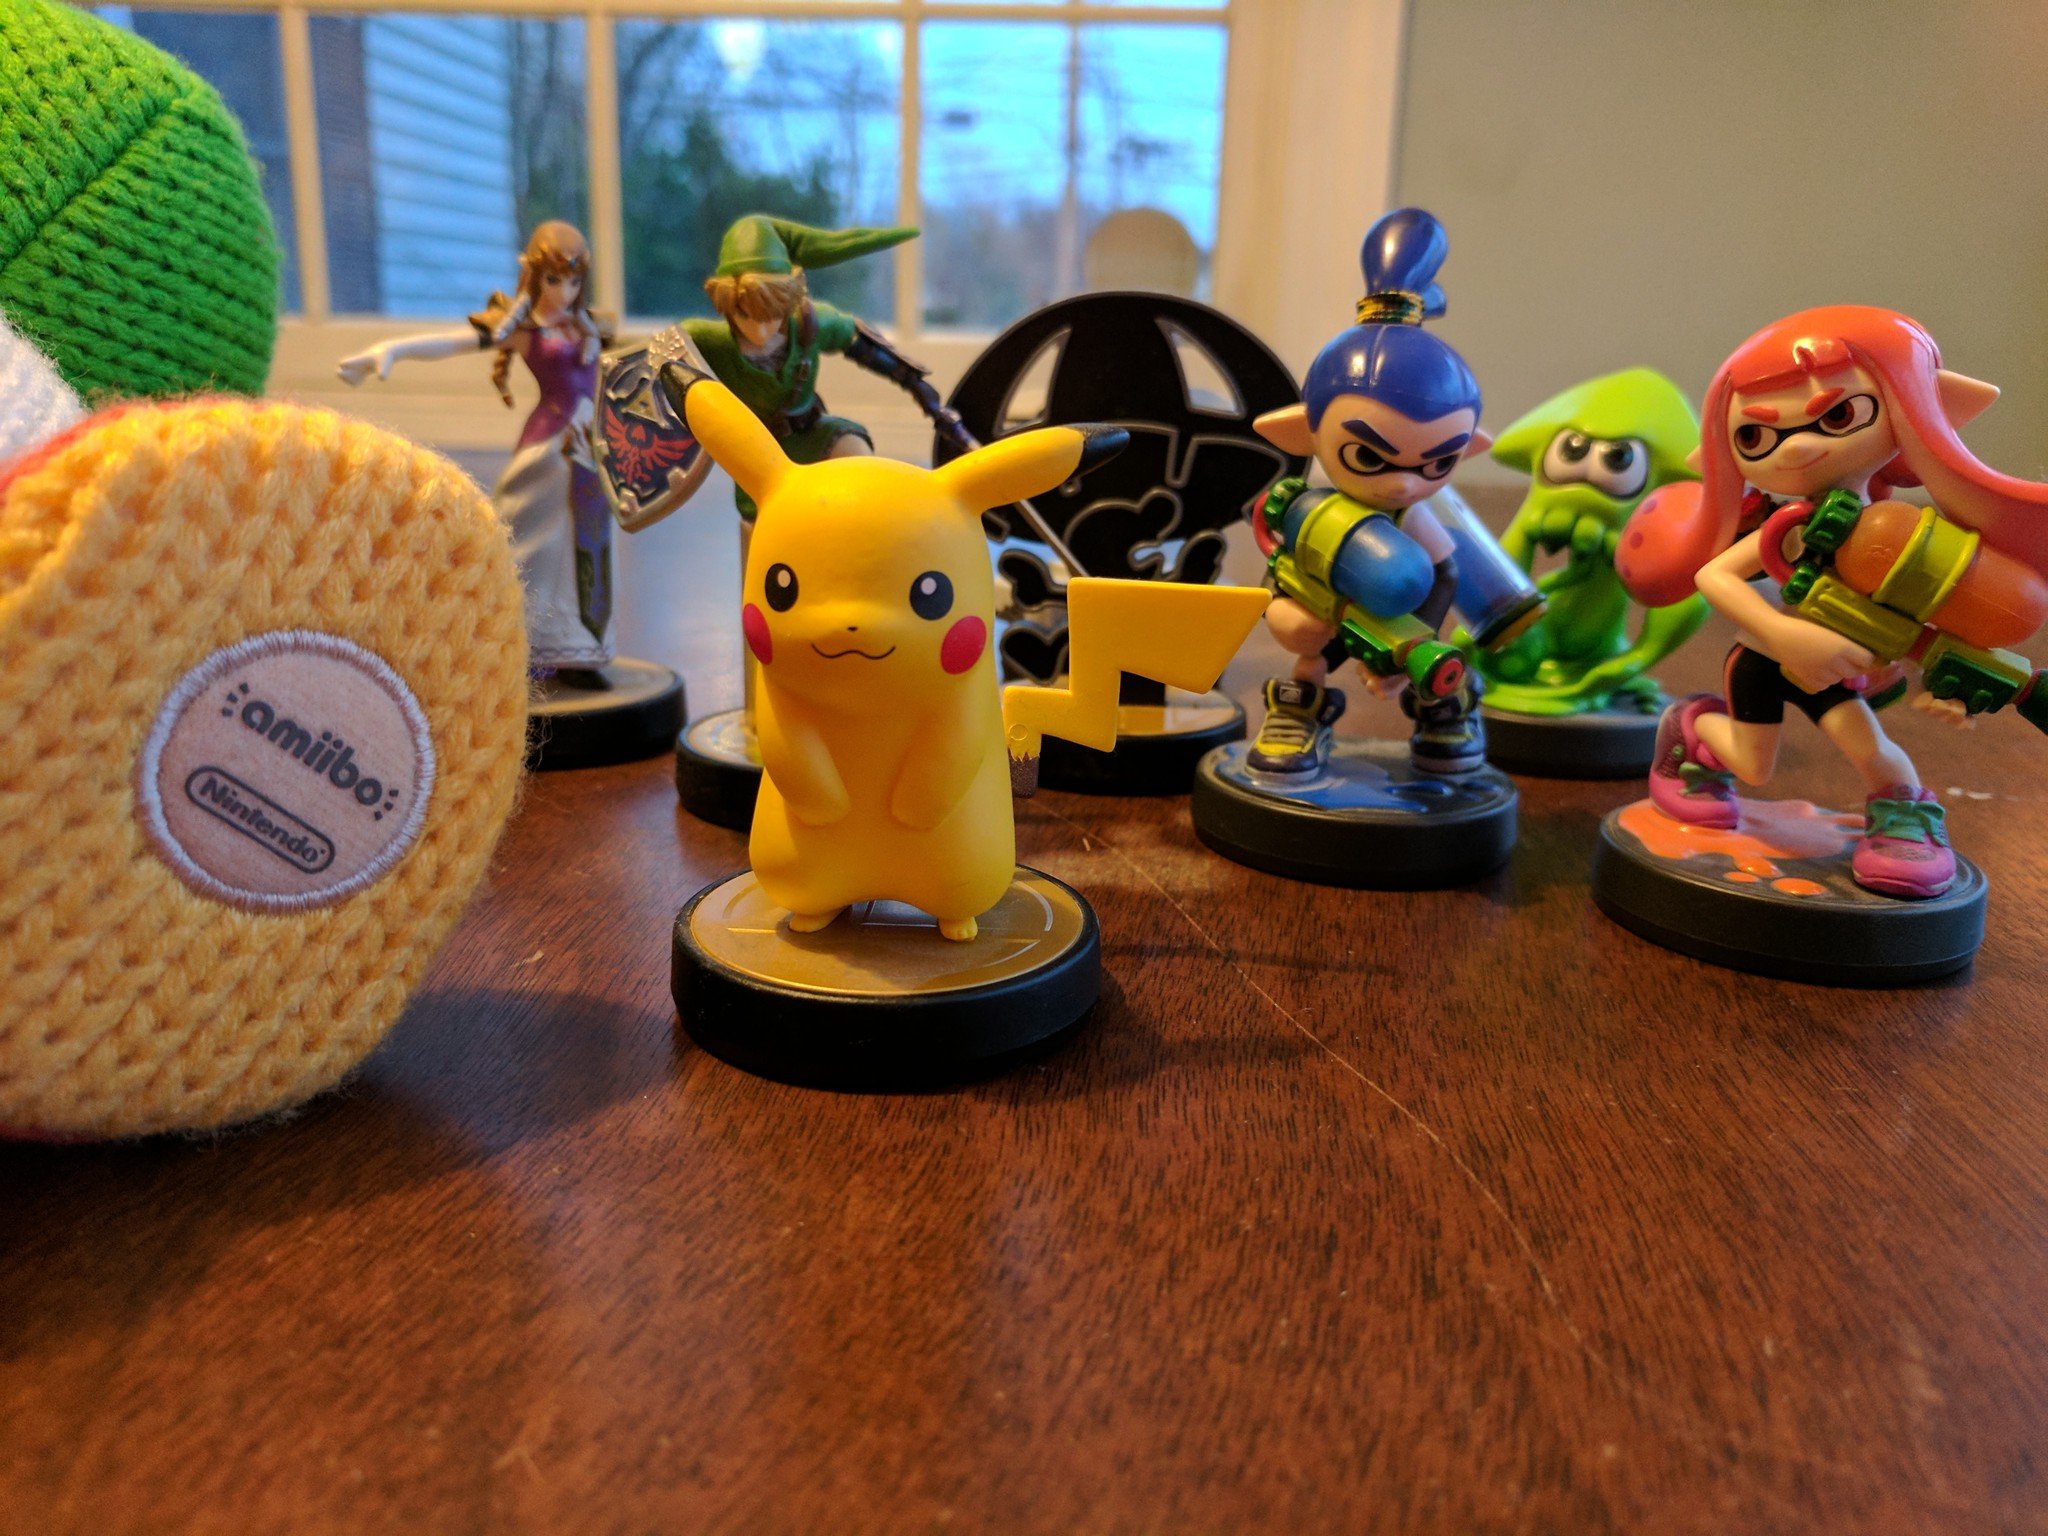
Compatibility and functionality of amiibo may vary per game. From this section you can register amiibos to specific user profiles link them to nintendo accounts. Hold an amiibo figure to the nfc touchpoint. Place the amiibo on the bottom screen of the new nintendo 3ds new nintendo 3ds xl or new nintendo 2ds xl making sure. Scroll down and select amiibo settings.
Hold an amiibo figure to the nfc touchpoint on the right joy con controller. Do not move the amiibo while it is being read or written to. When prompted hold the amiibo card slightly above your right joy con controller. From the main page select the system settings menu then navigate down to the amiibo tab. Figures shown not actual size and designs may vary.
From the home menu select system settings then scroll down the menu on the left hand side and select amiibo. Hold an amiibo figure to the nfc touchpoint. Select register owner and nickname. Select register owner and nickname. From the settings menu select amiibo.

How To Manage Amiibo Storage Data On The Nintendo Switch Nintendo Switch Wiki Guide Ign

How To Fix Amiibo Not Working On A Nintendo Switch Support Com
8fkeup72isqomm

How To Invite More Villagers Using Amiibo And Amiibo Cards Animal Crossing New Horizons Wiki Guide Ign
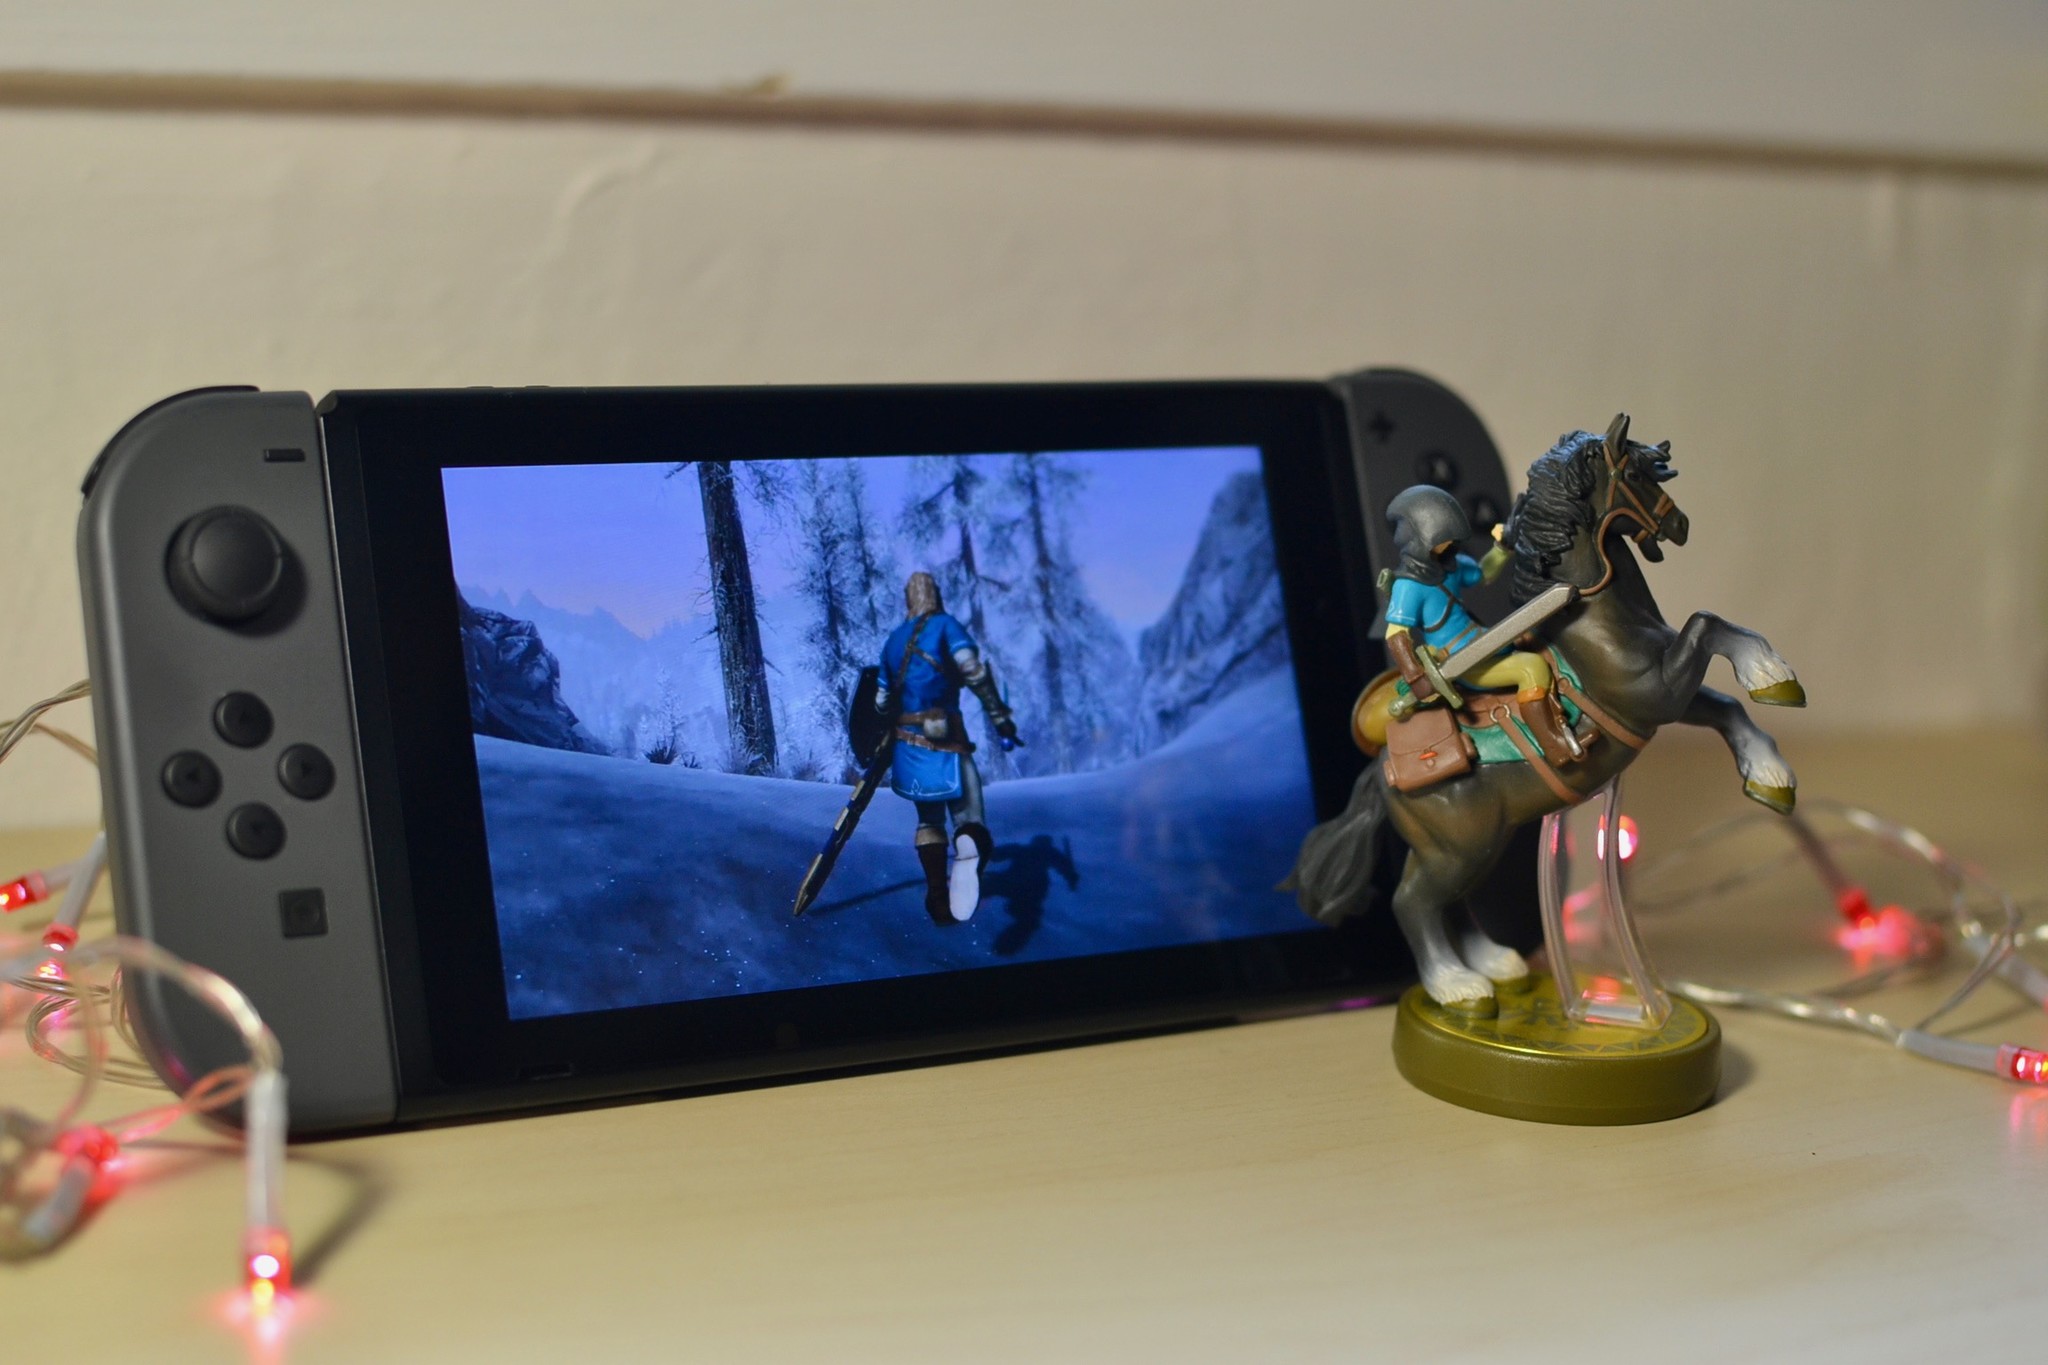
How To Get Link S Outfit From The Legend Of Zelda Breath Of The Wild In Skyrim For Nintendo Switch Imore

Nintendo Support How To Create A Mii

How To Use Amiibo On The Nintendo Switch Scanning System On The New Console Explained

How To Invite Any Amiibo Villager Using Your Android Phone In Animal Crossing New Horizons Articles Pocket Gamer

Amiibo

Using Amiibos With Super Mario Odyssey Youtube

How To Use Amiibo Cards In Animal Crossing New Horizons Youtube

A Third Party Nintendo Switch Controller That Works With Amiibos Youtube

Nintendo Support How To Connect To The Internet Using A Wireless Network

